

Alrighty folks, this is JUST a guide. I’m going to give you the step by steps on how I got these results. This is not the only way you can do it, it’s just the way I did it. Everyone crochets differently, so please adjust this to fit your style. You may need to add or remove stitches, depending on how tightly you crochet. Also keep in mind that using thicker or thinner yarn will alter your results. To define the teeth portion of the skull, you may want to block it. Check YouTube for blocking videos if you’re unsure of how to do it. At some point I hope to get a simple photo tutorial up about it, but I’m just not feeling it right now. I’ll be happy to help through email or comments though.
What you need to know (in American terms) –
- ch – chain
- sc – single crochet
- hdc – half double crochet
- dc – double crochet
- sl st – slip stitch
What you need to have –

Yarn, hook, yarn needle, scissors, and stitch markers (not shown) if you need them.
Here we go –
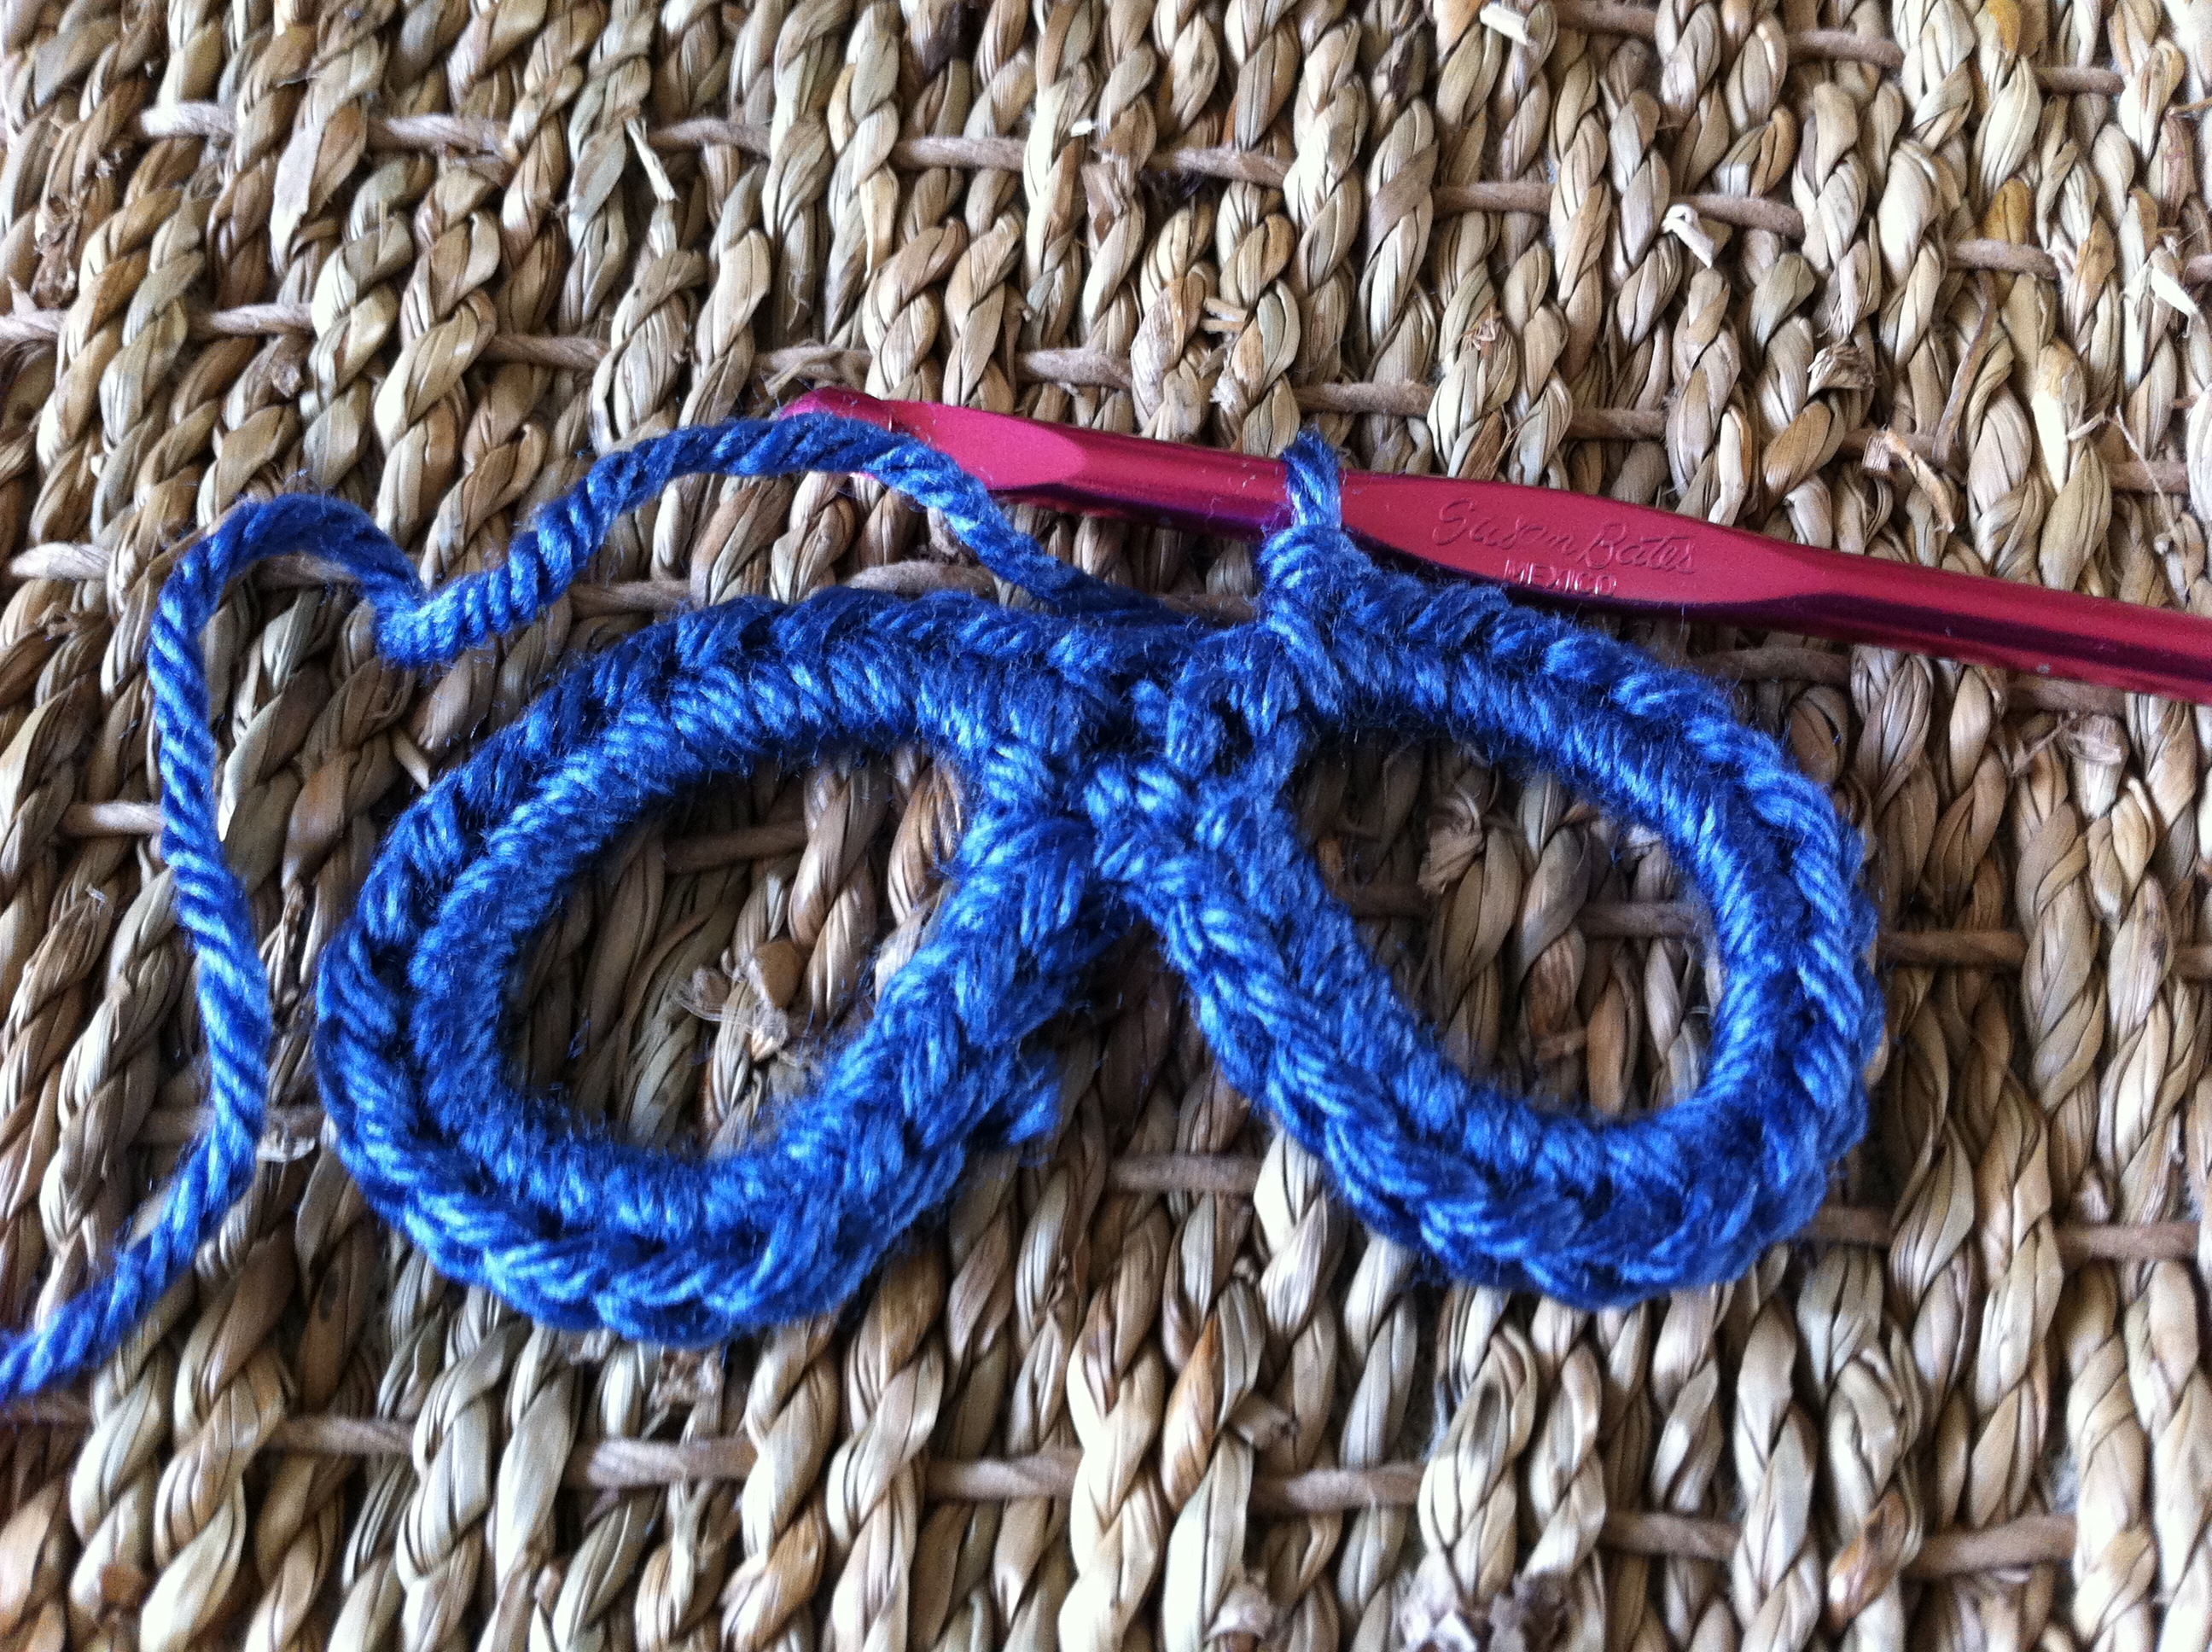
Start with your basic slip knot and chain 12. Make a circle and sl st into the first chain. This forms your first eye socket. Mmmmm eye socket.

Continue without breaking your yarn and chain 13. Sl st into the 12th chain from the hook. This makes your second eye socket. You should have two circles with one chain separating them.

Chain 1, sc into the next chain (the one that’s between your eyes), and then place 20 sc in the circle. You will be making these single crochets around the row of chains and NOT crocheting into the chain itself. Again, this is just a guide. You may decide you want more stitches here. 20 worked for me.

sc into the bottom of the middle stitch (between the eyes) and place 20 sc in the second circle. If you decide you need more stitches, just make sure you do the same amount in each eye. That’s the basic rule for this whole project. What you do on one side you will need to repeat on the other side.
I did not join to start the second round. If you’re a stickler for joining, go right ahead. If you’re a crochet rebel like me, skip it. Place 2 dc in next stitch (if you joined, chain 3 and put one dc in the same stitch). Dc in the next 3 stitches, hdc in the next 2 stitches, and sc in the next 7 stitches. This starts to form the shape of the skull.
(The photo below shows the yarn needle in the 4th stitch from the end of the circle. We aren’t going to work any stitches into this spot. So, if you’ve adjusted your count to work better for your style of crochet, just keep in mind you need to leave some stitches blank to allow for the nose hole. Yep. Nose hole. I’m classy.)

hdc in next 2 stitches, dc in next 2 stitches, chain 2. We are going to skip a total of 9 stitches, 4 going up the circle, the middle stitch, and 4 going down the second circle. (NOSE HOLE!)

Join your chain 2 to the 10th stitch (the 5th stitch in the second circle) with a dc. Now we will do exactly what we did in the first circle, only backwards. 1 more dc, 2 hdc, 7 sc, 2 hdc, 3 dc.

NOW you can join. Chain 3. dc into next 3 stitches, hdc in the next 4 stitches, sc in the next 4 stitches, hdc in the next 2 stitches, dc into next 2 stitches. This should get you back to the chain 2 you made to create the nose. Place 4 dc into that space.

And we’re ready to repeat it all backwards. 2 dc, 2 hdc, 4 sc, 4 hdc, 4 dc. Sl st into the top of the chain 3 that started this round. Cut your yarn leaving a tail to weave in and secure. You have a skull head, but something is missing. TEETH!

In the photo below, the yarn needle is showing the middle of the skull. It’s not exact, but it’s close enough. Count over 4 stitches to the left and reattach your yarn.


Chain 4, skip the next stitch, dc in the next stitch, chain one, skip the next stitch, dc in the next stitch, chain one……do you see what’s happening here?

When you’ve made 4 teeth, chain 4 and turn your work. Dc into the dc in the previous row and chain one. Do this across to get the second row of teeth.

And there ya have it. It’s a skull. Cut your yarn, secure it, weave in the ends. It’s NOT as hard as you think. You got this!
EDIT – I’m glad everyone loves this pattern. I can no longer crochet or knit…..or stir a pot of soup. Ugh. Degenerative disks in my neck have really bothered my wrists. So, I want you to make these, sell them, share them, and do whatever else you want to with them. You have my permission. You have my blessing. You have my appreciation. Happy crocheting to all of you!

Gracias por compartir. Dios te bendoha grandemente y te de mejoria!
I am grateful for your creativity, and sad for your health conditions. Prayers and hugs for you!
I had so much fun with this pattern! I am a teacher, and I am looking forward to giving these out to my students. Your pattern was easy to follow, hilarious to read, and fun to create. Thank you!
Thank you so much for a wonderful pattern.
So sorry to hear re yr health😔. So appreciate yr patterns!💖
Thank you so much for your amazing pattern I have really enjoyed making these for my neice x
This is awesome I have a friend and relative that will love these. THANK YOU so much for sharing!!!
Great pattern! Very easy to follow and it looks great.
Hi,
I absolutely love your Skull Patterns! In fact, my sons girlfriend asked for the Skull bag, but its no longer available,🥺🥺🥺 will you have it again?
I think there should be 6sc rather than 4 in the second round
Thank you for sharing this. I am new to crochet and the instructions were so easy to follow!
Thank you for sharing this!
Pingback: Halloween Crochet Patterns For Beginners - Knit And Crochet Daily
Thank you for sharing your talents. I too understand the health issue as I’ve had arthritis for 40 years diagnosed at age 13. It’s called ankylosing spondylitis and has turned my spine into a solid bone severely limiting movement and always pinching nerves. I’ve had to take a hiatus from crocheting years at a time and just got back into it. Praying you’ll have the opportunity also to return if not to crochet but another wonderful hobby to help you cope with stress and pain.